If you’re a frequent user of Google Sheets, you may have wondered how to add a checkbox to your spreadsheet. Checkboxes are a useful tool that allows you to mark tasks as complete, track progress, or simply provide a way for users to indicate a yes or no response. Luckily, adding a checkbox to your Google Sheets is a simple process that can be completed in just a few steps. In this article, we’ll walk you through the process of adding a checkbox to your Google Sheets document.
Remember, the steps will remain the same for Desktop, iOS, and Android devices. So follow the article.
Step 1: Open Your Google Sheets
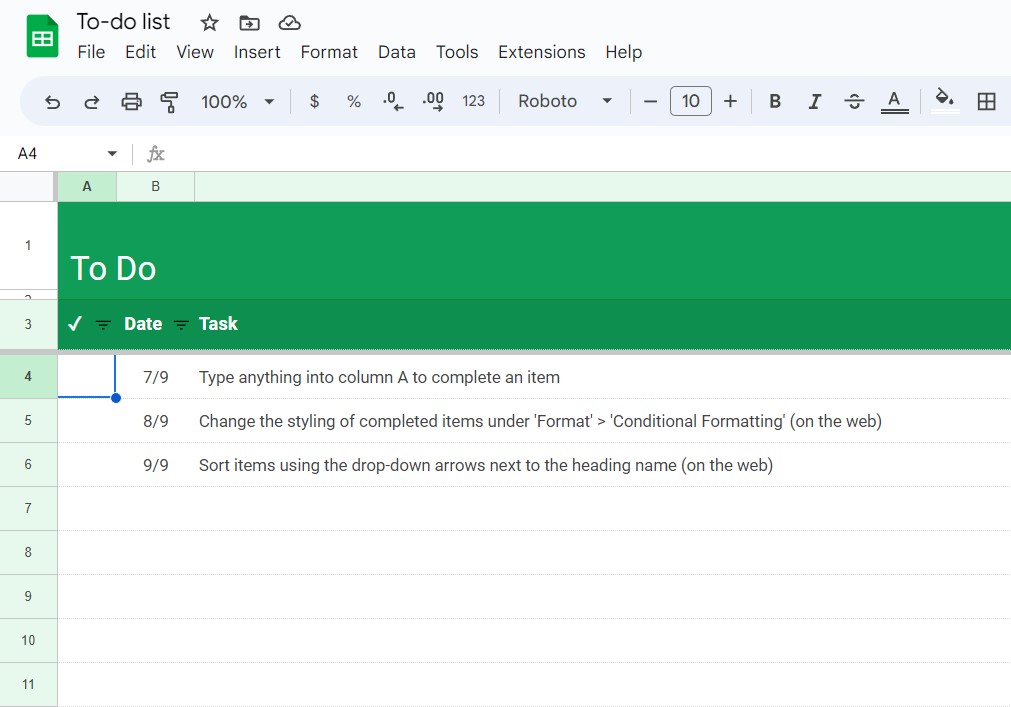
The first step to adding a checkbox to your Google Sheets is to open your spreadsheet. If you don’t have a Google Sheets created yet, you can do so by going to Google Drive, clicking on “New,” and selecting “Google Sheets.“
Step 2: Insert a Checkbox
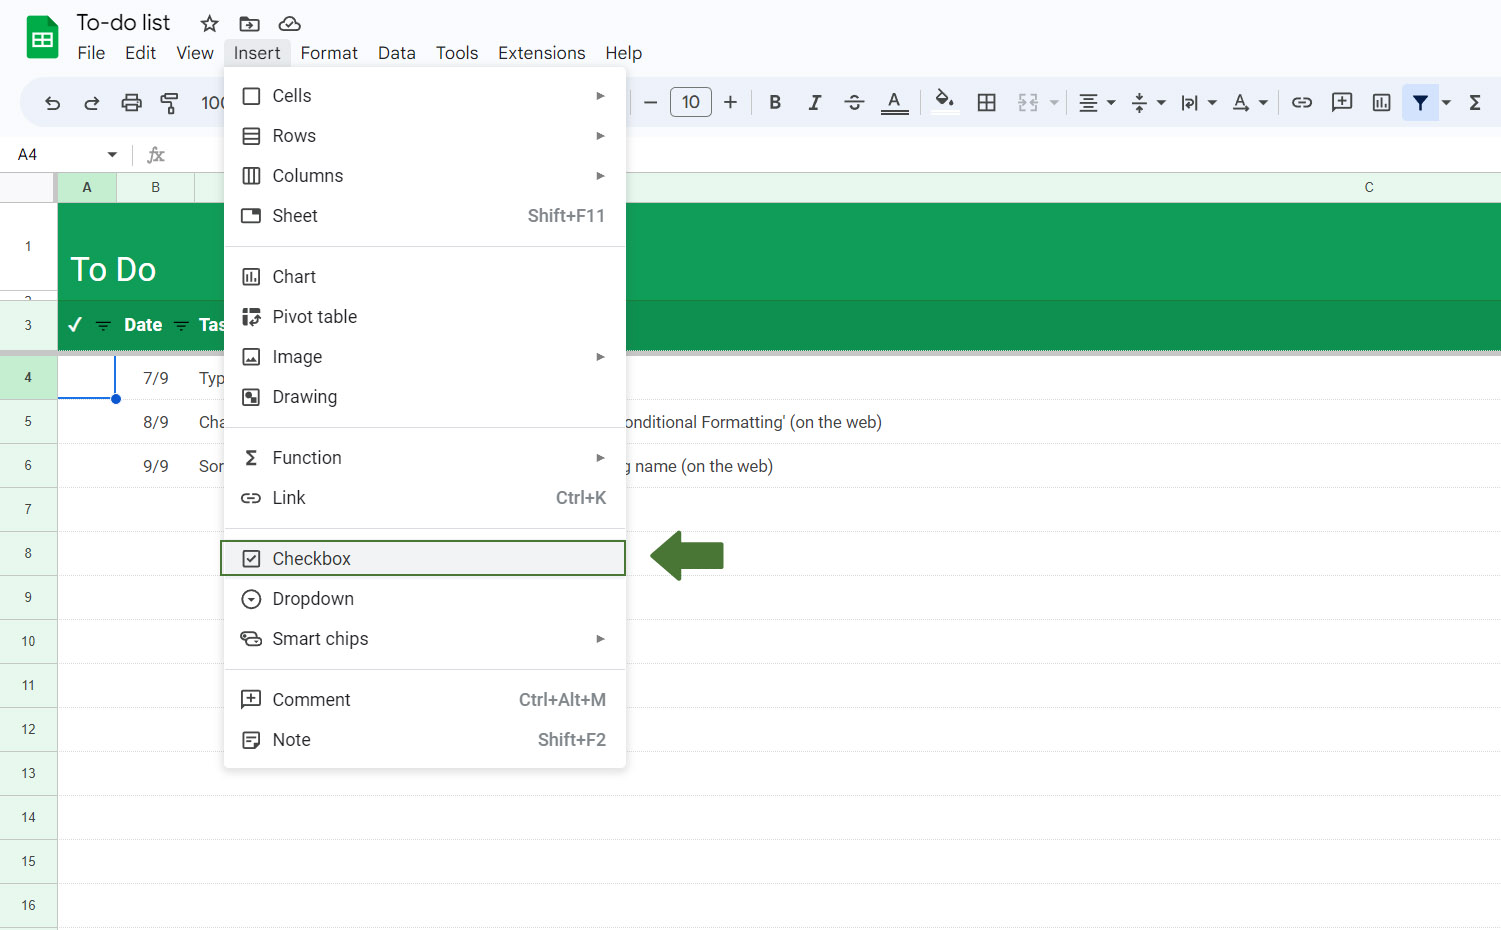
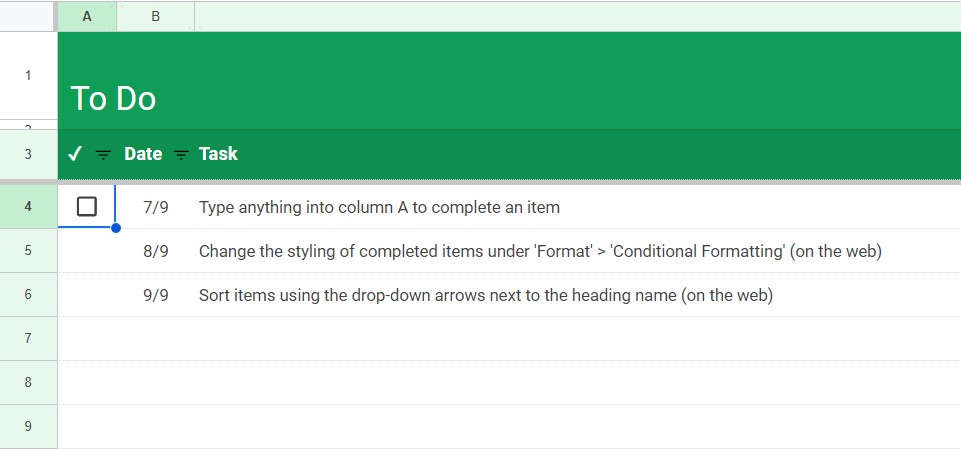
Once you have your Google Sheets open, select the cell you want to add a checkbox in. You can insert a checkbox by going to the “Insert” menu and selecting “Checkbox.” This will add a checkbox to the current cell.
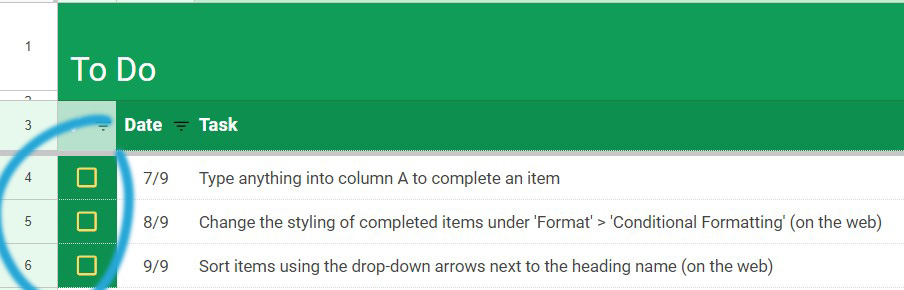
Step 3: Copy and Paste Your Checkbox
If you need to add multiple checkboxes to your Google Sheets, you can save time by copying and pasting the first checkbox. Simply select the checkbox you want to copy, right-click on it, and select “Copy.” Then, select the cell where you want to paste the checkbox, right-click, and select “Paste.” You can repeat this process as many times as needed to add additional checkboxes.
Step 4: Customize the Checkbox with Conditional Formatting
Now that you’ve inserted a checkbox, you can customize it to fit your needs. You can change the formatting style like colors and apply custom formulas to the checkboxes you have just created.

In order to customize your checkboxes, click on “Format” from the menu and then select “Conditional formatting“. Now, check if all of your checkbox’s rows and cells are properly selected in the “Apply to range” option (shown below). If none of your checkbox columns or rows are selected select manually again.

Finally, change the style of your checkboxes as required. You can also change the
Step 5: Use Your Checkbox
Now that you’ve added a checkbox to your Google Sheets, you can use it to track tasks, mark progress, or collect data. To check or uncheck the checkbox, simply click on it. You can also use formulas to calculate the number of checked boxes or use conditional formatting to highlight certain cells based on the checkbox status.
How to Remove Checkbox?
To remove any checkbox, click on the checkbox icon in your cell and hit the “Delete” button on your keyboard.
Frequently Asked Questions
Can I add multiple checkboxes to one cell in Google Sheets?
No, each checkbox can only be inserted into its own cell in Google Sheets.
Can I change the size of the checkbox in Google Sheets?
Yes, you can change the size of the checkbox just by changing the font size of that cell.
How to use formulas with checkboxes in Google Sheets?
You can use formulas to calculate the number of checked boxes or use conditional formatting to highlight certain cells based on the checkbox status.
Can I add a checkbox to a protected cell in Google Sheets?
No, you cannot add a checkbox to a protected cell in Google Sheets.
How can I add a checkbox to a Google Sheets form?
Yes, you can add a checkbox to a Google Sheets form by selecting the “Checkbox” option from the “Question type” dropdown menu.
Conclusion
Adding a checkbox to your Google Sheets is a simple process that can help you track tasks, mark progress, or collect data. By following the steps outlined above, you can add a checkbox to your Google Sheets in just a few clicks.